top of page

Godly Villains Tattoo

Station Setup
A sterile and organized tattoo station is crucial for safety and efficiency, requiring a non-porous, disinfected surface, strict barrier techniques, and a logical layout to prevent cross-contamination. Key steps include cleaning with agents like Cavicide, covering all equipment (machine, bottles, cables) with plastic, setting up from cleanest to dirtiest areas, and organizing supplies on a mobile tray. Station Setup Essentials Surface : Use stainless steel or non-porous, easi

therobotpanda
Mar 23
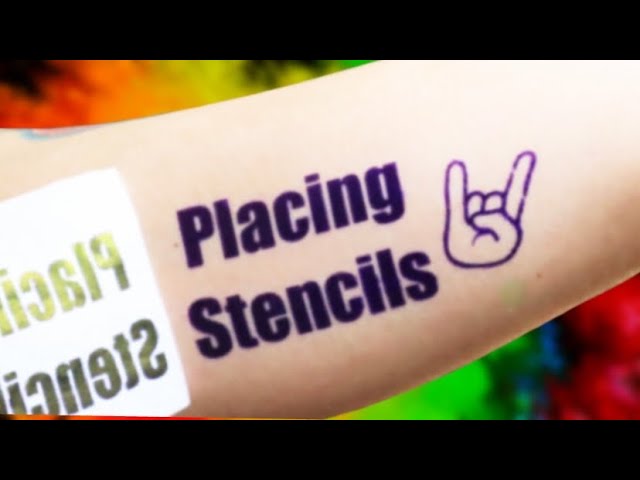
Applying Stencils
Apply perfect tattoo stencils by thoroughly cleaning and shaving the skin with green soap and alcohol, applying a thin, even layer of stencil transfer agent (like Stencil Stuff), letting it become tacky, and pressing the design firmly without shifting. Allow the stencil to dry for 10–15 minutes before tattooing to prevent smearing. Key Tips for Stencil Application Skin Prep : Shave the area even if no hair is visible to remove dead skin and oils. Clean thoroughly with alcohol
therobotpanda
Mar 16
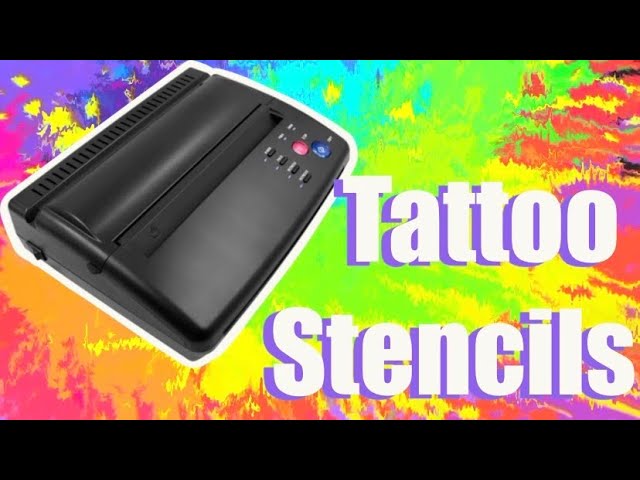
Thermal Printer
For optimal results with tattoo thermal printers, use high-quality stencil paper (like Spirit), ensure the carbon layer faces the printhead, and adjust image brightness for clear outlines rather than heavy shading. Keep the device charged to prevent faint prints and clean the rollers regularly with alcohol to avoid jams and smudges. Setup and Printing Tips Paper Orientation : Remove the yellow protective sheet, and ensure the carbon/transfer paper is oriented with the white s
therobotpanda
Mar 9

Grey Wash
Create consistent, smooth grey wash tattoos by using 3–4 large ink caps with varying ratios of high-quality black ink to distilled water or witch hazel (e.g., 10, 6, 3 drops + straight black). Always start with the lightest shade and move to darker tones to avoid muddying, and use pendulum motions for smooth gradients. Key Tips for Grey Wash Tattooing Consistent Ratios : Use a consistent method, such as the 4-cap system (Light, Medium, Dark, Solid Black) to ensure predictable
therobotpanda
Mar 2

Mag Shading
To achieve smooth, consistent results when shading with magnum (mag) needles, focus on using the correct motion, machine settings, and technique to ensure even ink distribution and avoid skin trauma. Technique and Motion Use the Largest Possible Mag : Use the largest magnum needle grouping the design allows to cover more surface area with fewer passes, reducing skin trauma and ensuring a more even look. Circular/Oval Motions : Move the needle in tight, overlapping circular or
therobotpanda
Feb 23

Consulting Sessions
Conducting a professional and efficient tattoo consultation is crucial for establishing trust, managing client expectations, and ensuring a high-quality, lasting, and meaningful piece of art. The key to a successful consultation is to move beyond a "horizontal" approach—simply collecting details—to a "vertical" approach, which focuses on understanding the "why" behind the tattoo to create a deeper connection. Preparing for the Consultation Time it Right : Schedule the consult
therobotpanda
Feb 16

Tattoo Stencils
Proper tattoo stencil application requires cleaning skin with soap and water, shaving the area, and applying a thin, even layer of stencil transfer solution (e.g., Stencil Stuff) to create a tacky, not wet, surface. Let the stencil dry for at least 10-15 minutes before tattooing to prevent blurring. Use high-quality stencil paper and ensure precise, contour-aware placement. Skin Preparation & Application Shave and Clean : Shave the area even if no hair is visible, then clean
therobotpanda
Feb 9

Tattoo Supplies
Essential tattoo supplies for every session include a sterilized tattoo machine (rotary or coil), needle cartridges or tubes, professional-grade ink, power supply, and footswitch. Safety requires nitrile gloves, barrier film, machine bags, clip cord covers, medical-grade disinfectant (e.g., Cavicide), stencil paper/gel, green soap, ink cups, petroleum jelly, and paper towels. Detailed Tattoo Supply Checklist per Session: Machine & Power : Tattoo machine, RCA cable/clip cord,
therobotpanda
Feb 2

Needle Depth
Proper tattoo needle depth, targeting the upper dermis (roughly 1.5–2mm deep), is essential to avoid blowouts or fading. Key tips include setting a 2.5-3mm needle hang, maintaining consistent, light pressure, using proper skin tension, and "floating" the needle tip just above the skin surface for better visibility. Key Tattoo Needle Depth Tips Target the Dermis : Aim for the upper dermis layer, about 1.5–2mm deep. If you go too shallow, the ink will fall out; too deep, and it
therobotpanda
Jan 26

Mixing Ink
Mix tattoo ink by starting with a base color and adding darker, more intense pigments slowly to avoid over-saturating. Use sterile, disposable cups, and add a few drops of mixing solution or distilled water to improve flow and consistency. Always record your color ratios, test shades on fake skin, and shake bottles thoroughly before pouring to avoid separation. Key Tattoo Ink Mixing Tips: Sterility First : Always wear gloves and use clean tools to prevent contamination. Color
therobotpanda
Jan 19

Using Color Ink
For vibrant, long-lasting color tattoos, start by tattooing the darkest colors first, then layer lighter colors on top to prevent muddying. Utilize high-quality pigments, maintain consistent, fast circular or oval motions for packing, and use contrasting, complementary colors to make the design pop. Keep palettes focused, generally 3-5 colors, to avoid a disorganized look. Tattoo Shading Tips Pendulum Technique : Use a rocking, back-and-forth "pendulum" motion, pivoting on yo
therobotpanda
Jan 12

Lining & Shading
For clean tattoo lining, maintain a consistent, slow speed with a 70–90 degree needle angle and 1.5–2mm depth. For smooth shading, use Magnum needles at a 25-degree angle, employing pendulum, pulling, or pushing motions to build, starting with lighter gray washes. Key tips include stretching skin, proper depth, and preventing overworking. Tattoo Lining Tips Angle & Depth : Hold the machine at a 70-90 degree angle to the skin, keeping the needle depth between 0.5 mm and 1.5 mm
therobotpanda
Jan 5
bottom of page